Friday, 21 November 2014

On Looking Back

Long time, not talk.

from warhammer40kfanon.wikia.com
This blog was originally conceived as a reporter's view into how the Redbot project would work. As with any good plan, it didn't survive contact with the enemy...so to speak.

The project is over and here are the learnings from it.

Technical Problems with the Project

The Redbot in the assignment was modified from a unit that is meant to use digital voltage readings, not analogue ones. That being said, the amperage that got through the line follower modules was limited enough that it made it difficult to control the motors. In the future, I will need to either find an alternate line follower module that provides better control or some different transistors to provide control. I included some N2222 transistors in the box but we didn't explore how to use them.

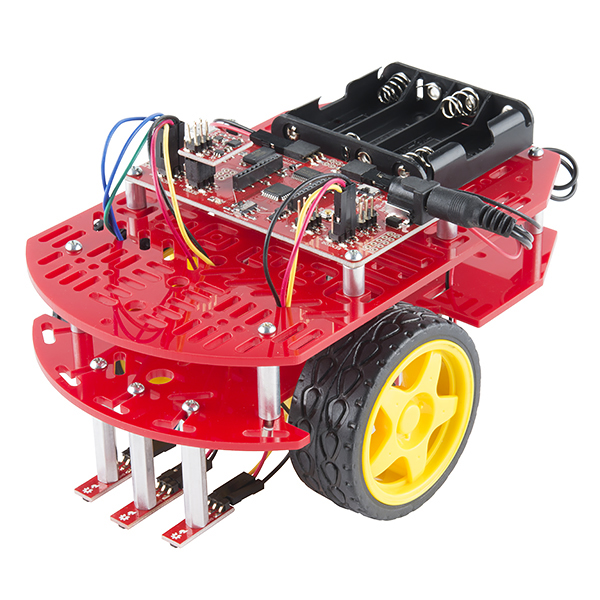
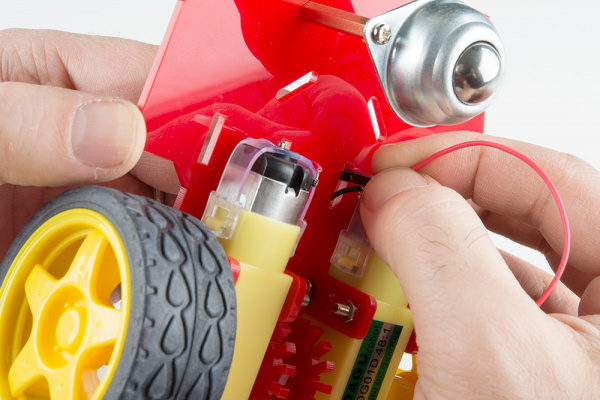
The particular model of the Redbot we ordered suffered from one other problem which was that the line sensor boards sat too close to the table and caught on the tape we used for lines. One group fixed this problem by grinding down the aluminum standoffs that hold the sensors. This solution is difficult however as the grinder tends to leave burrs of metal in the channel used to hold the screw. This was remedied by re-drilling the hole. The robot pictured, which the group named Gilbert, showed a much more innovative solution to the problem as they roped the top panel of the Redbot to the lower panel with a zip-tie to bend the plastic upwards and bring the sensors away from the table.

Educational Learning with the Project

The project itself worked well overall. It accomplished my goals in terms of teaching the Robotics 1 AND Robotics Applications 1 credits(and introduced a number of things for the Intermediate course in Robotics).  It also succeeded in teaching one important peripheral skill, patience. By the end of the project, almost all of the groups had demonstrated at least one instance where they had tried multiple solutions before asking for external help. Groups were also using each other's ideas and problem solving methods to solve their own.

In terms of what this covers educationally, I have realized that this goes much further than the credits I laid out require me to cover. The learning was not just in the area of robotic interaction, but also covered electronic prototyping, motor function, electronic components, schematic drawing, prototyping, as well as math, teamwork, and safety.


I will have some more examples and pictures in the near future to add to this.
Monday, 27 October 2014

On a New Week

So, the updates dried up late last week. I made myself quite sick late last week with how late I had been working, and after a weekend of sleep and rest, I am ready to get back to the weekly grind.

Which means that there needs to be an update on the rest of last week.

At this point all but one group has finished their chassis and have successfully moved on to trying to make their motors function with a transistor. One interesting note is that a number of groups skipped the motor assignment completely (for now) and went right on to figuring out how their line sensors work. In the future, I may rename those two assignments 2a and 2b and let the students figure ont which order they want to build them in.

Calgary...snow...every month of the year...
from en.wikipedia.org
One of the difficulties in making any electronic project work, is getting parts that have the correct specifications. My fight with that was in regards to transistors. The current set I have for the kits are not responsive enough to the low amperage that I'm running through them. When dealing with this problem (in Calgary at least), I've found that Solarbotics is a hugely helpful company. They happily let me test the light-sensor circuit that I was planning to use with a couple of transistors in order to find the one that worked.

This is a short week and I full intend on posting another update before parent-teacher interviews on Thursday.

Enjoy the snow.

Monday, 20 October 2014

On Elaborative Thinking

Something occurred to me today: a simple assignment with many complex parts is something that I find to be very basic to solve but the strategies I use don't come naturally to all students.

I have two cases to point to to prove this point.

The first involves a group who, after learning that their initial 9.6V RC car battery would not take any significant load from the motors, wired a test circuit to their breadboard and hooked up a battery. Without fully understanding the implication of wiring two motors worth of leads into the power rails of their breadboard, they quickly began melting the electrical tape and plastic shrinkwrap right off of that battery.

Now I want to pause here to point out the series of events that goes on when you light a battery on fire.
image from  youtube

First, you wire something incorrectly, and often innocently, into your breadboard and plug in your battery.

Second, you sit at your workbench puzzled as to why the circuit didn't function.

Third, you smell smoke and an unmistakable stench of burning plastic.

Fourth, you flip your robot over, see smoke, and immediately disconnect the power source to prevent a battery explosion.

Fifth, you look at your wiring, decide which wires are touching or mis-wired that shouldn't be, and remove the problem.

My students, unfortunately, added a sixth step; they wired in a new battery to see if that was the problem.

So, long story short, two of my batteries are now in a questionable state; though the students did succeed in making the robot do doughnuts on the floor once they fixed the problem...with their third battery.

Image from xkcd.com
This event calls into question some basic problem solving skills that are important to Design Thinking. After the first battery was toast, literally; they should have asked themselves a simple question: what are all of the things that could be wrong.

This first question is important because it allows you to undergo a line of thinking that asks, "if A,B,C and D are wrong, which one can I test the most easily and without causing harm to me, first, or to my project, second...hopefully.

This ability to think abstractly and elaborate on potential problems is one that I have not spent enough time helping the students develop. It is one that we will spend some time on tomorrow.

The second story is one that is far more academic, far more moot, and far more enlightening.

This one involves a student who is rushing through everything. We have all had this student at some point in a teaching career and have probably been frustrated by trying to slow them down.

Image from The Matrix: Reloaded
Truth is, I was one of them once. The problem for these students is that questions, paperwork, and anything labelled "enrichment," serves no purpose in their minds. They are goal oriented and all of that other stuff is junk for all intents and purposes. Like Neo trying to save Trinity in the Matrix: Reloaded, nothing else matters but the end goal.

Now as someone who has been barreling down that roadway, cars, trucks and other assorted debris in tow, I can safely say that the easiest way to get me to slow down is not to try and convince me to explore the area with words, but to drop a building in my way and force me to explore as I go around.

This is where effective task design comes into play and I believe, at first glance at least, that this unit has thrown an effective number of concrete structures in the way of the end-goal. This was very apparent today when I pointed out the connection between the 5V input on the line sensor schematics, and the 5V regulator chip that happened to be added to their robotics bag. It also seemed to resonate with my Neo-like student when I slowly ran through the list of questions that the assignment asks him to answer before he actually hooks anything up (for fear of burning batteries, of course).

Image from en.wikipedia.org
The 5V line follower and the regulator chip are two ideas, sorry buildings, that this student now has to fly around.

I feel a fair bit of sadness to say that this student, who I've had so much fun watching progress from a teacher-centred learner to a more student-centred problem solver will no longer feature on this blog as he announced to say that he is moving to British Columbia at the end of the week.

I wish him all the best on the left coast and I hope that he takes at least a degree of the Elaborative thinking from robotics class with him in whatever he does.

Here's hoping that no batteries are lit on fire tomorrow.

Thursday, 16 October 2014

On Thinking Like a First Grader

Have you ever noticed how the most innovative kids are often those who are the youngest?

The ability to think out of the box and take risks is something that declines as we age within a career, and that means that by tenth grade, most students have had that ability beaten out of them like a prisoner at Guantanamo.

...too soon?

image from reason.com
The fact of the matter is, that for around half of my students, the fear of failure with this project was paralyzing. The conversations went like this:


"What EXACTLY am I supposed to do with this? How does this go together? How do you want me to do this?" the student says.

"Figure it out. How does it make sense to go together? Why do I care how you build your robot? It's your robot!" I respond.

At this point I usually smile and ask them what they think makes sense. I will also frequently question their very correct and well thought out decisions, just to make sure that they are becoming experts on the topic.

One by one, the students shuffle to the workbenches and begin trying to build. Some draw plans first, some try to fit pieces together, and others turn to the almighty Google to give them guidance. The Google group were disappointed because the Redbot is actually built on top of the Magician Chassis, which is not always a logical search.

The fact of the matter is that no way was wrong. It was highly entertaining to see students screwing parts onto their robot before discovering that they made the back far too tall, reminding me of the people who walk on their hands.

Everyone was failing...it was awesome.

image from redbot.onehumanbeing.com
In my experience, the design process is never clean. At best it involves scratched out drawings, crumpled up paper or the paint wearing off of your BACKSPACE key; at worst it involves fishing your project out of the sewage treatment plant...a personal story for another day.

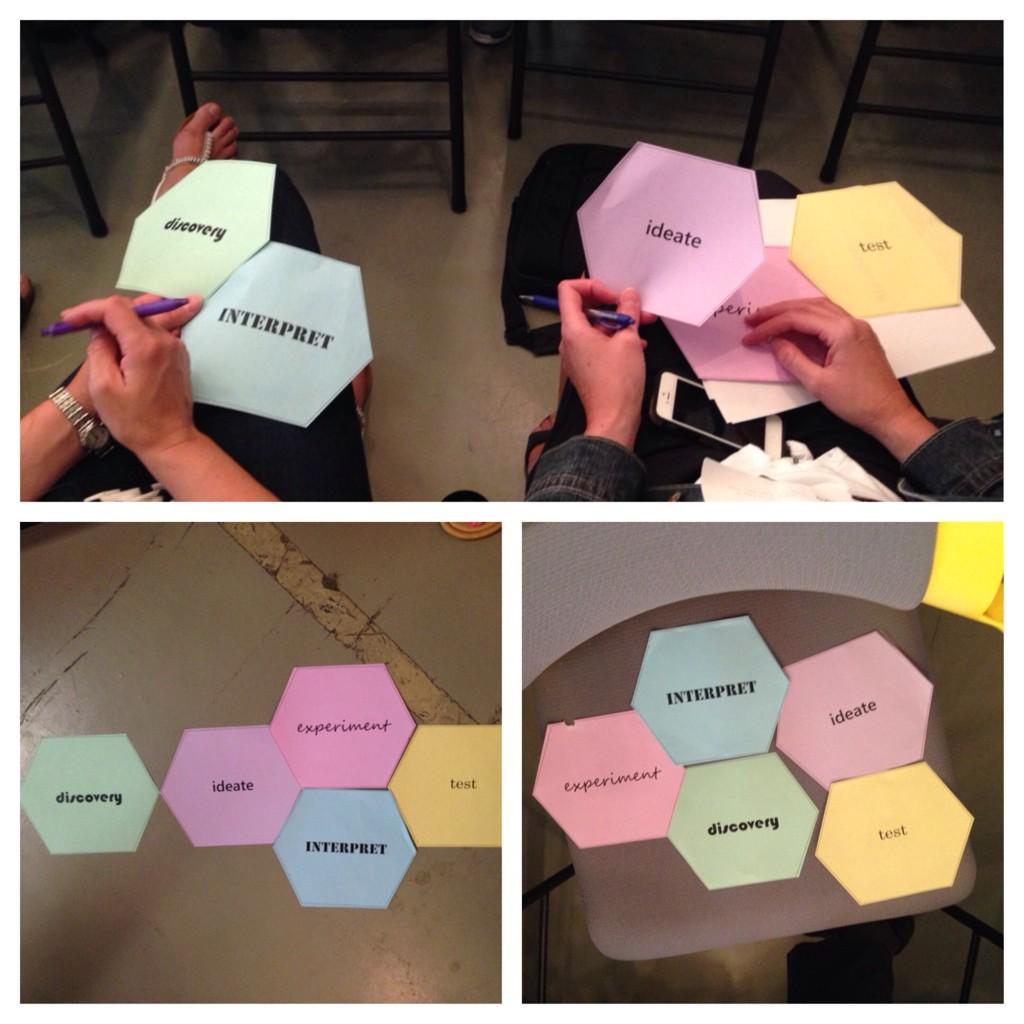
Those who were most immediately successful were those who thought like first graders. Those who sat down and tried a handful of methods before they found one that worked. Students have barely left the Ideate phase and they are already starting to develop the ability to send tendrils of thought into the many choices they have with this project.


And it all stems out of simplicity. The single question that was mandatory for all students to answer was: 

What is RedBot’s Purpose?

It spans back to the question that all students fight to answer as they travel through school: 

What is my purpose?

On Nonspecific Instructions

Ah, back to blogging.

I guess that this blog should start with a purpose; that purpose is to chronicle the adventure that will be a single credit out of my Introductory Robotics Course at James Fowler High School. This credit was inspired by the 2014 CBE (Calgary Board of Education) Summer gathering title "Design the Shift."

A link to the the assignment outline can be found here. In that assignment, students were originally going to journal about their experiences building the Little Willy robotics platform. In the weeks leading up to the project however, I ran into supply issues with the Little Willy and decided to order Sparkfun's Redbot instead.

The specific kit that I've used includes all of the Redbot kit minus the battery holder, accelerometer board and the Redboard (mainboard). These parts were removed so that they could be used for the Intermediate and Advanced levels of robotics where we focus heavily on sensors and autonomous control of a robot.

In addition to what was in the box, I added a number of items including:
2 10K potentiometers
1 SPTD Power Switch
2 PN2907 Transistors
1 Half sized breadboard
1 9.6V RC car battery with an attachment cable and charger
Assorted jumper wires
Some zip-ties

The project begins with a very non-specific set of instructions: "Build a robot chassis that will allow your robot to follow a line of electrical tape on a white table. Write down everything that you do and why you did it in a Google Drive journal. Remember that it is ok to make mistakes as long as you are sure that you can undo them. (beware of glue, 2-sided tape and electrical fires)...Begin!
"